Introduction to Pico-8
Pico-8 is “a fantasy console for making, sharing, and playing tiny games and other computer programs”. It is similar to a retro game emulator but for hardware that never existed. Instead of physical cartridges, Pico-8 games are distributed as .png images that look like cartridges.
One of my favorite ways to play Pico-8 games is on a Linux based handheld console such as the Anbernic RG35xxSP. I’ve wanted to make a game on this system for awhile and recently had the motivation.
This is not intended to be a beginner’s guide to Pico-8 as I am still very much learning. Rather, this is just a place for me to document what I’ve learned and my progress.
You can play the game I made and will be walking through here.
Game Idea
There is a card game called Flip 9 that I heard about a long time ago. In this game, you have nine cards numbered 1-9 in a random order. The goal is to get the cards in order from 1-9 by swapping two cards at a time. However, after your first swap, you must swap whichever card was the sum of the two cards you just swapped. For instance, if you first swap the 1 and the 3, then the next card you swap with must be the 4. If you swap the 8 with the 4, you would have to swap with the 12. The cards only go up to 9, so instead you swap with the sum of the digits (1+2), so the 3. This continues until you correctly get all cards in order from 1-9.
Nearly 10 years ago, I ade a version of this game in Python and blogged about it here. I’m naming this version goo.
Getting started
You can play any Pico-8 game in your browser for free! However, if you want to play Pico-8 games on your own handheld device or if you want to make your own, you need to buy a copy from Lexaloffle for $14.99.
Since the code for every Pico-8 game is available with the cart itself, it can be helpful to have two instances of Pico-8 running (one with an example game that is similar to what you want to make, and another with the game you are making). To do this on Mac, you can open the first instance as usual then run open -n -a pico-8 in the terminal to open a second.
To see which folder your Pico-8 instance is looking at, just use the command folder. This will open Finder to the folder that Pico-8 is listening to.
The first thing we want to do is create the file. To do this, run save <name>. For me, this was save goo. Running folder, I can now see a new file in my folder named goo.p8. Going forward, you can use the ctrl+s keyboard shortcut.
Pico-8 Basics
There are a few built in commands that Pico-8 looks for and runs automatically. Those commmands are:
_init()
This is called once on program startup and is used to initiate values.
_update()
Called once per update at 30fps. Generally, this is used to do calculations that may need to be done. For instance, checking if a button was placed and changing some value if so.
We will point _update() to an internal function called _upd() like this:
1 | function _update() |
This lets us set _upd to some function, which will then be used to update later.
_draw()
Called once per visible frame. Generally this is used to draw items onto the screen. You could put all of your code in either _update or _draw but generally people separate them out as discussed here.
We will point _draw() to an interal function called _drw() like this:
1 | function _draw() |
Again, this lets us set _drw to some function, which will then be drawn.
Goo
Sprites
This card game doesn’t have much going on in the way of sprites which makes it a perfect first game!
To get to the sprite editor, click on this icon.![]()
I started by just drawing the border of the cards, then thought I would make the cards fancy (as seen on the right). I decided I’m not artistic enough to be able to do that 8 more times, so quickly gave it up and instead just used the blank card (on the left).
Pico-8 is limited to only 16 colors, numbered 0-15. In my sprites, brown (4) will be transparent later.
Each sprite is 8x8 pixels and has a number. My card started on sprite 001 and had a width of 4 and a height of 5.
We will use the sprite number and size later when we put the cards on the screen.
Screens
Goo will have 4 screens. Each screen will have two functions, one for what should happen during _draw() and one for what should happen during _update().
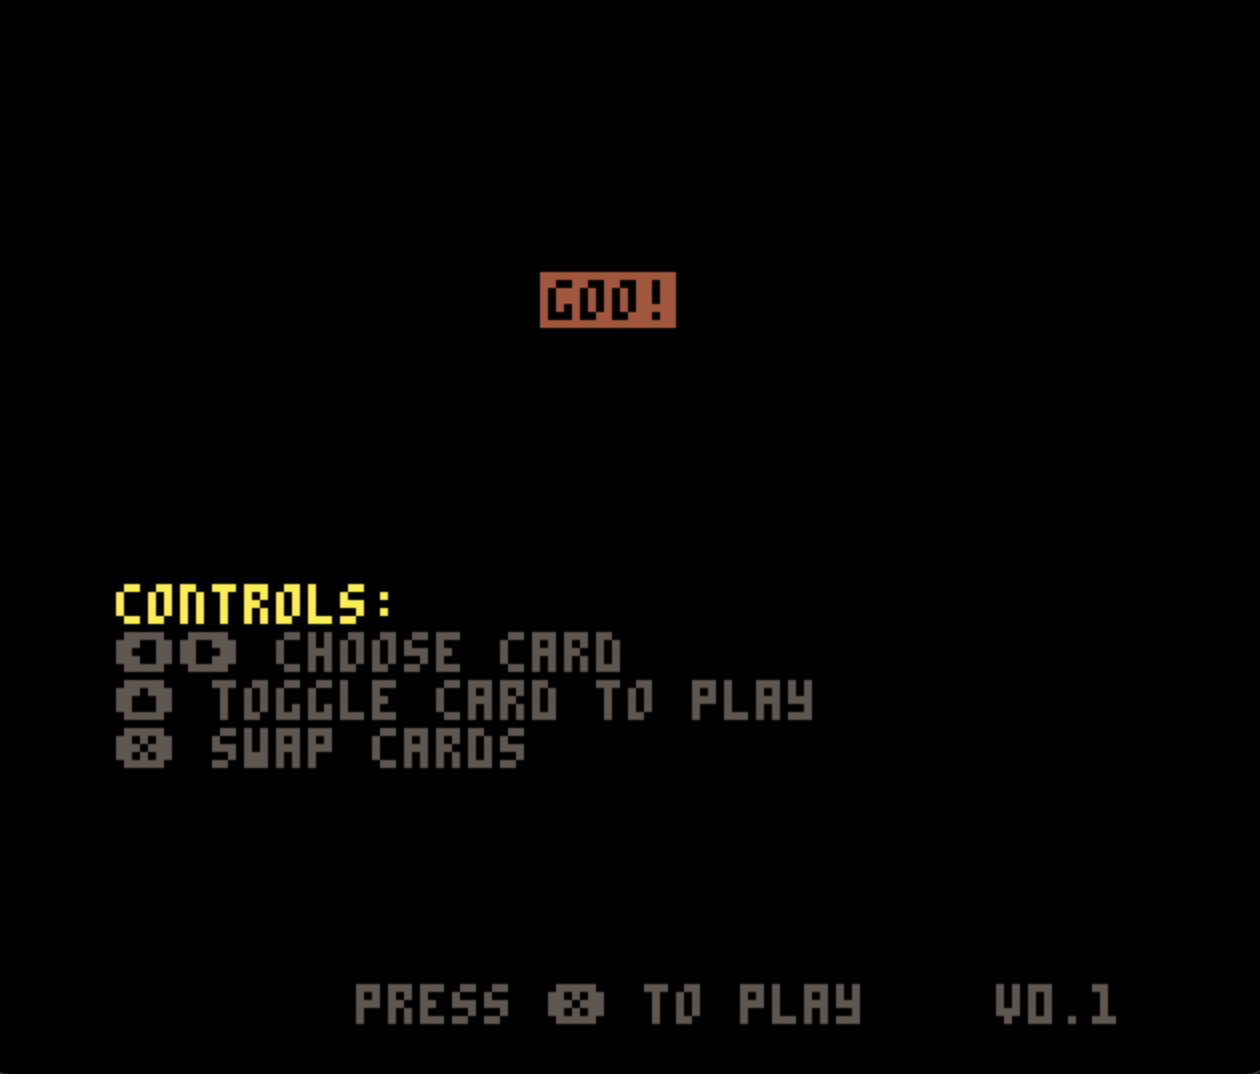
Start Screen
This will show the controls and have a button to either start the game or go to a tutorial
During _init(), we will call show_start_screen() which will set both _drw and _upd:
1 | function show_start_screen() |
draw_start_screen()
This is the simplest of all of our start screens:
1 | function draw_start_screen() |
cls() clears the screen, taking away anything that may already be on it. We will use it at the start of each of our screens so that nothing lingers from previous screens.
print() function will print text to the screen. My first print has \^i before the game name. This is a special command which inverts the colors, meaning it whll be a colored rectangle with the word goo cut out of it.
t() is the current time, so t() * 4 %16 gives a random color over time, causing the start screen to have the game title go through the rainbow.
The screen is just continuing to print more lines down the screen at specific locations and with specific colors.
update_start_screen()
The start screen only cares about the x or o buttons being pressed, so we will just listen to those:
1 | function update_start_screen() |
btnp is a built in Pico-8 function for a button being pressed (not necessarily HELD, but rather PRESSED). IF the x button is pressed, we will call a function that restarts the game, if o is pressed, we will show the tutorial screen.
restart_game() will be very similar to show_start_screen(). It will set _upd and _drw to the appropriate functions for the actual game mode.
Game Screen
The game will take place on this screen. This is where most of our logic will live.
draw_game()
Every time _draw() is called while on the game screen, draw_game() will execute. It will loop through each card and draw it onto the screen:
1 | function draw_game() |
In Pico-8, to get the length of an array (called a table), you just do #<array name>. So, for i = 1, #hand do is a for loop that will go from 1 to the number of cards in hand (9).
Each card will have an x and y position in pixels that gets set in this loop. If the card is the chosen chard, meaning the card that is being hovered over, the Y value will change according to 2 * sin(t()) which will cause the card to oscillate up and down over time.
If the card is triggered to play, it will move up above the cards just a little bit, so y -= 10. In Pico-8, increasing Y goes down and increasing X goes right.
If the rank of the card is the sum value, meaning it is the one that must be swapped with next, it will move even further up (so y -= 15). Finally, we actually draw the card onto the screen with draw_card().
1 | function draw_card(card, idx, x, y) |
First, I’m using the clip() command to limit any drawing or coloring functions to just a specific area of the screen.
The palt() command sets my brown color to transparent, as mentioned previously.
If the card is in the right place, I want the card background to be blue (1) instead of white (7). the pal(7, 1) command replaces all white with blue.
I want to highlight the card that is summed, so if the card’s highlight attribute is true then I will replace the green border with a flashing yellow: pal(11, 10 + t() * 4 % 2)
The spr command writes the sprite to the board. The first number is the sprite number, as discussed early our card boarder sprite starts at sprite 1. We’ll place it in the position x, y and we know to use 4x6 sprites: spr(1, x, y, 4, 6)
update_game()
Here is where the bulk of the logic will live. We need to check for button presses and set card attirbutes accordingly:
1 | function update_game() |
Tutorial Screen
The tutorial screen is a combination of the start screen and a specific shuffle of your hand. It looks for specific key movements and is more restricted than normal game mode.
Win Screen
This is what will display when a player gets the cards in order from 1-9. It will say they are a winner, give the number of moves, and the total time it took. It will also have an option to restart the game.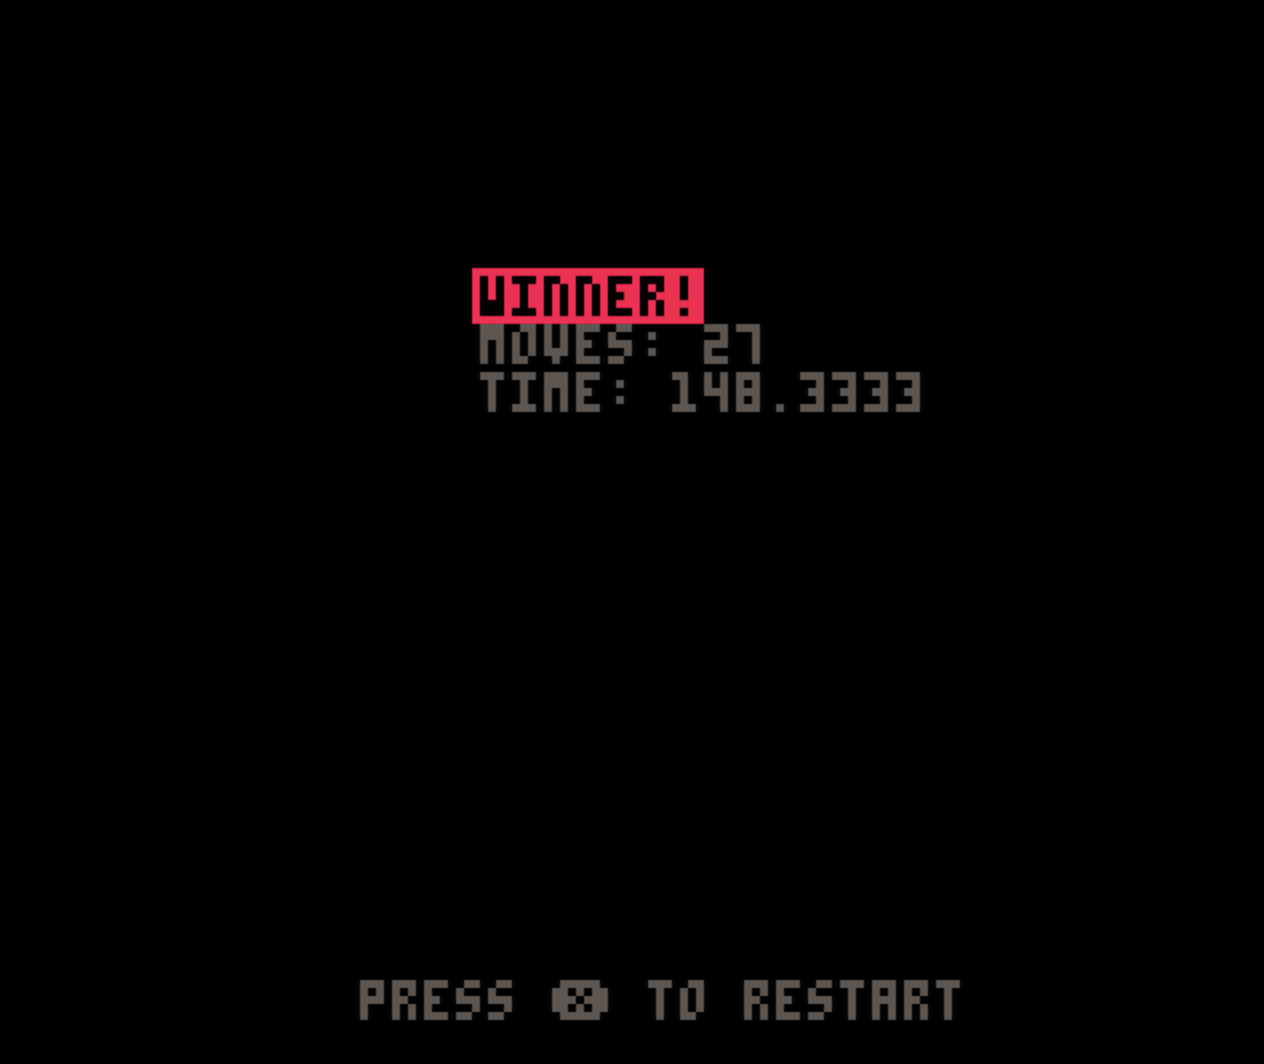
It is very similar to the start screen, so we won’t discuss it here.
Conclusion
You can view the full code for this game in the cart or on my Github here.