Gunsmith Db and App Part 4.1: Disposition Flow
Hey! Before I get into details on today’s post, I want to point out that I’ve added a way for you to subscribe to new blog posts! Just enter your email address under SUBSCRIBE on the right side of the site and you will receive an email when I publish a new post! In Part 4.1, I will be discussing how a user will dispose of a gun using the gunsmith db program I am developing. If you missed the first few parts, you can check out the overview, adding customers, acquisition flow, and acquisition code.
User Flow
I tried to make as much of the program behave relatively similarly as possible, so a lot of today’s post will look like the acquisition flow. This is intentional – I want the user to have a unified experience. 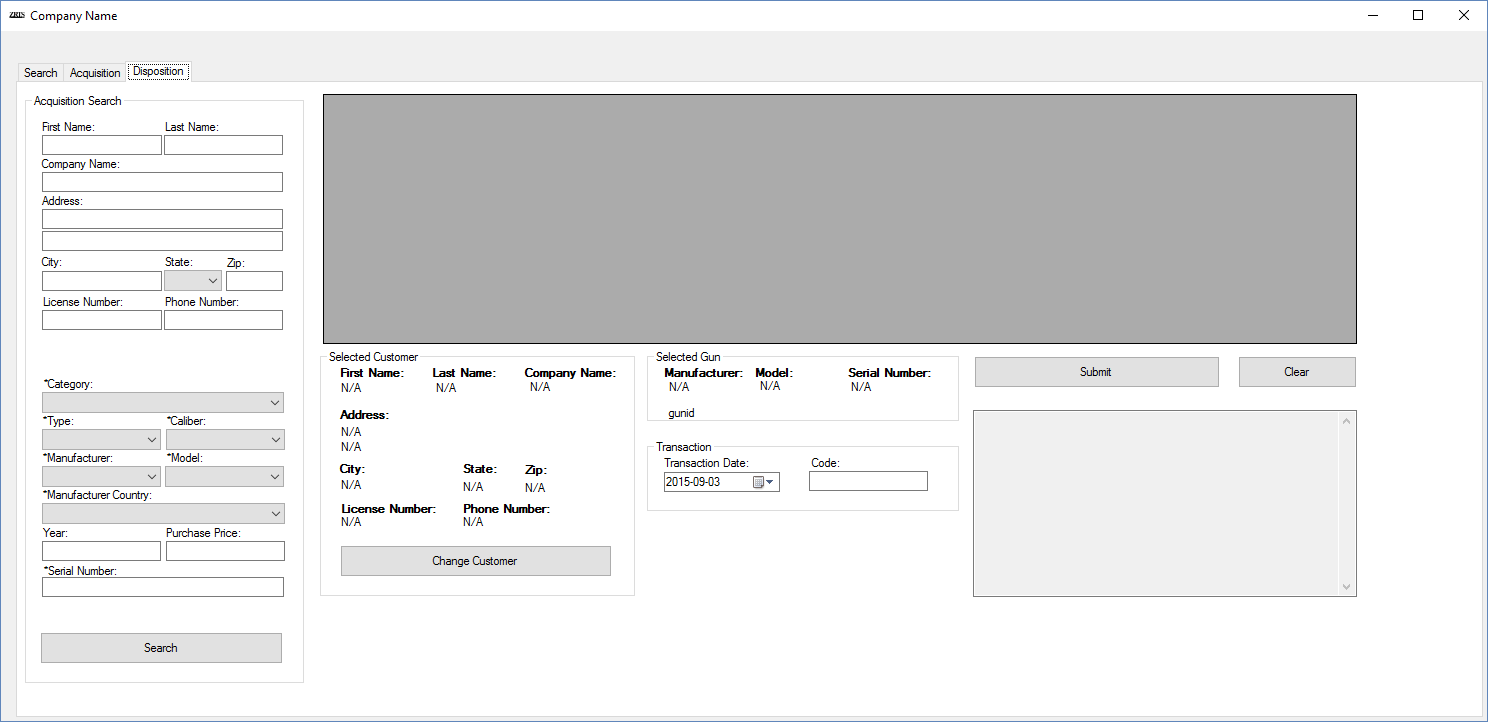
Search For An Acquisition Transaction
In order to dispose of a gun, a user needs to select a gun that has already been acquired (since the shop cannot dispose of a gun that it hasn’t acquired) as well as a customer. Each acquisition transaction includes a customer and a gun, so the user can search for a gun by searching by anything related to the customer or gun. Like the customer search in the Acquisition tab, the user can type any part of any of the textboxes to search. In this instance, I searched for every acquisition transaction where the customer’s first name contained an ‘L’: 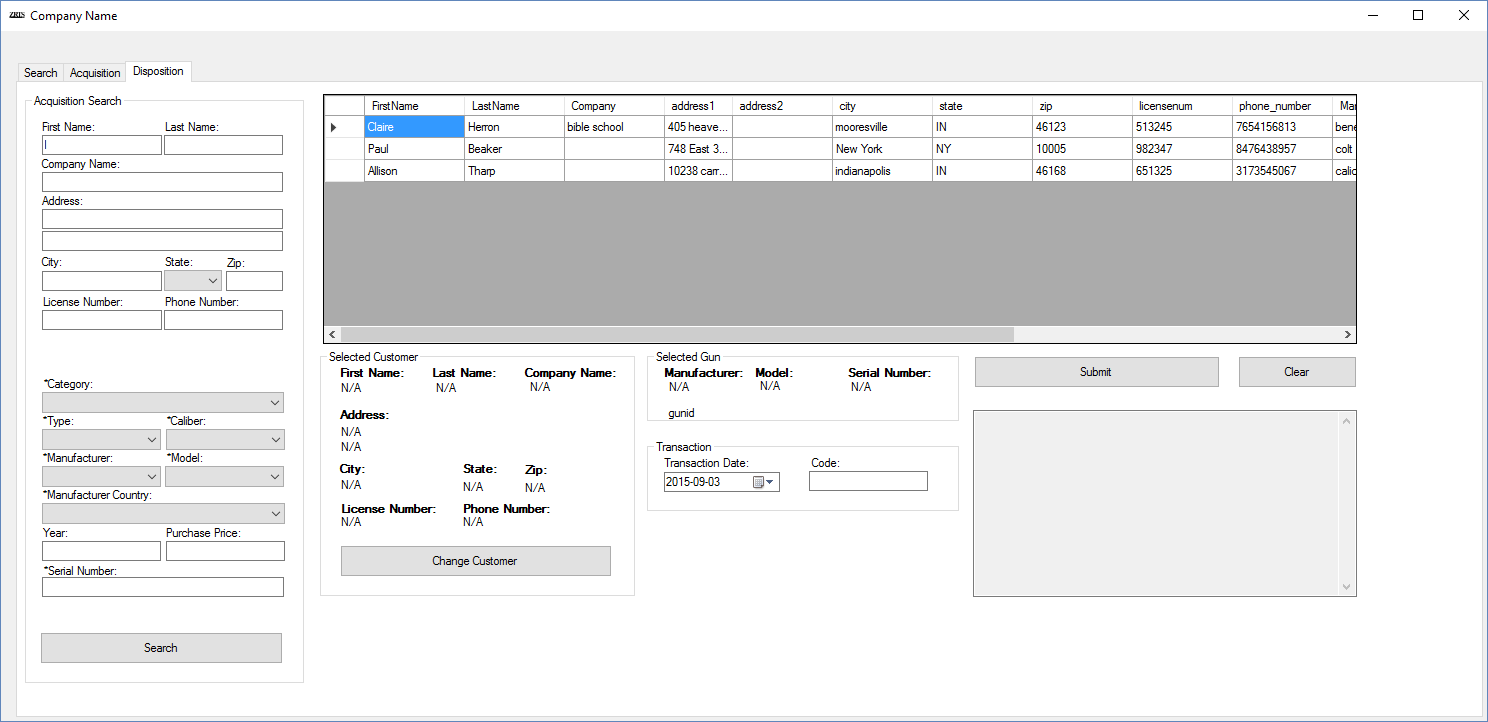
Select an Acquisition Transaction
Selecting an acquisition transaction does two things: it selects both a customer and a gun (if needed, the customer can be changed later). A user can select an acquisition by either double clicking on the entry they want or by right clicking and choosing ‘Select Acquisition’.  The selected customer and gun will be displayed under ‘Selected Customer’ and ‘Selected Gun’, respectively.
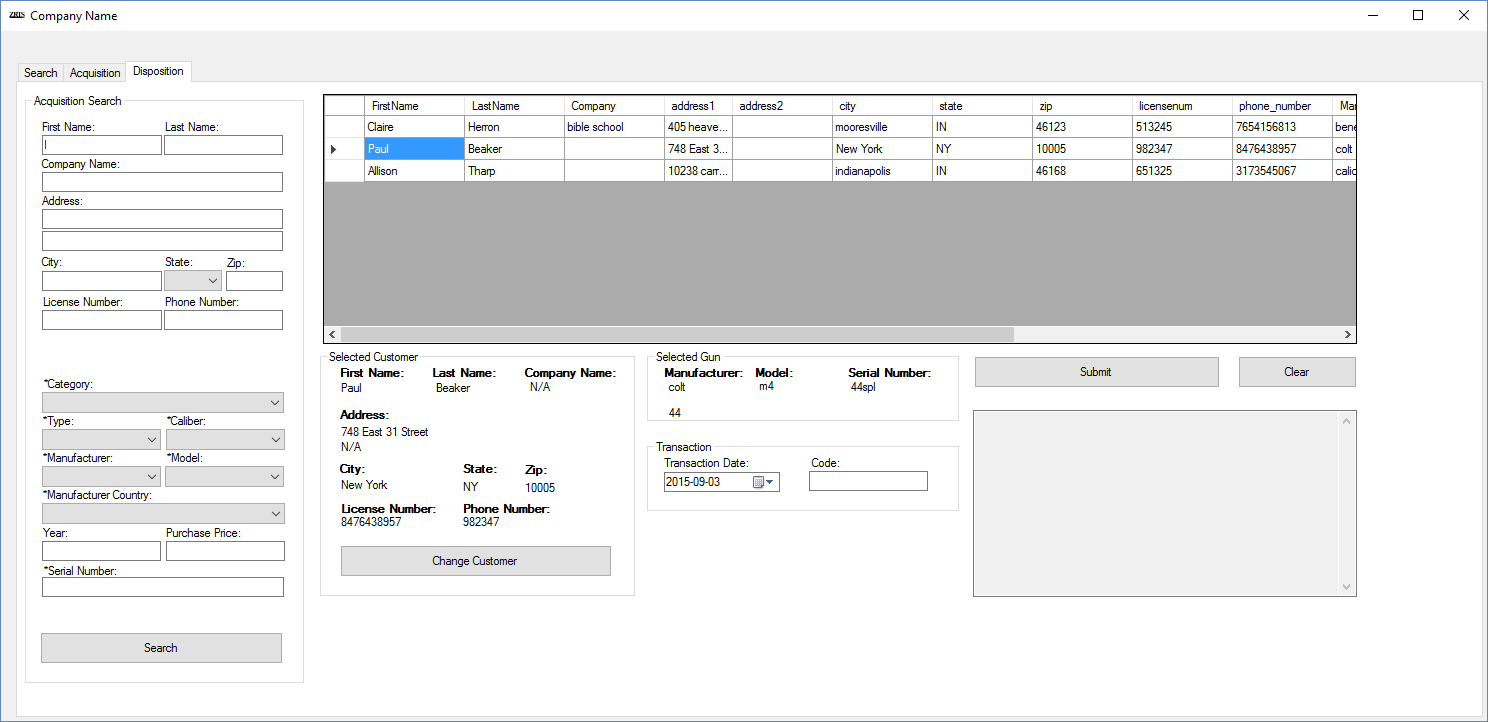
Change The Customer
The gun doesn’t always go back out to the person that brought it into the shop. Therefore, the user might need to change this customer. In order to change the customer, the user selects ‘Change Customer’ in the ‘Selected Customer’ panel. When this button is pushed, a new window pops up. The user can then search for or add a new customer, in the same way they do during the acquisition phase described here. For a brief review, the user can search for a customer by putting in values in one or more of the textboxes. The user doesn’t need to completely fill in the textbox; as with before, they could search for names that contain the letter ‘L’ or the partial name ‘Al’ if needed.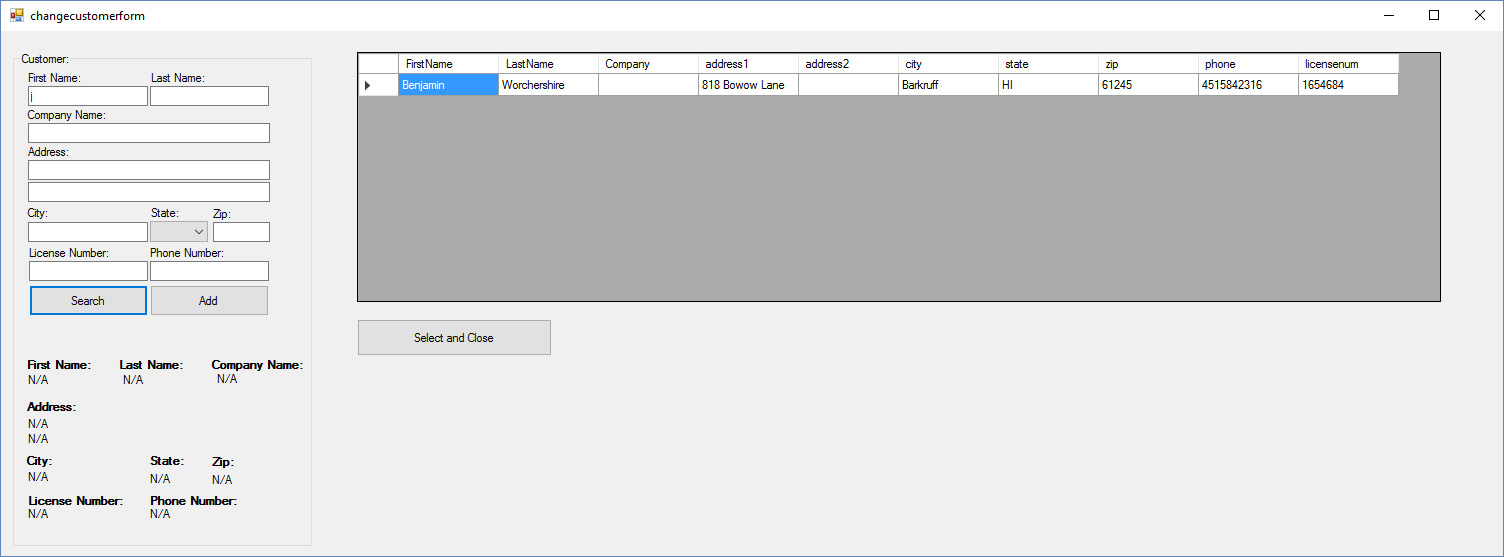 In order to select a customer, the user can double click the customer or select the customer and press “Select and Close’. Once this is done, the Change Customer window is closed and the new customer info is displayed in the Selected Customer panel.
 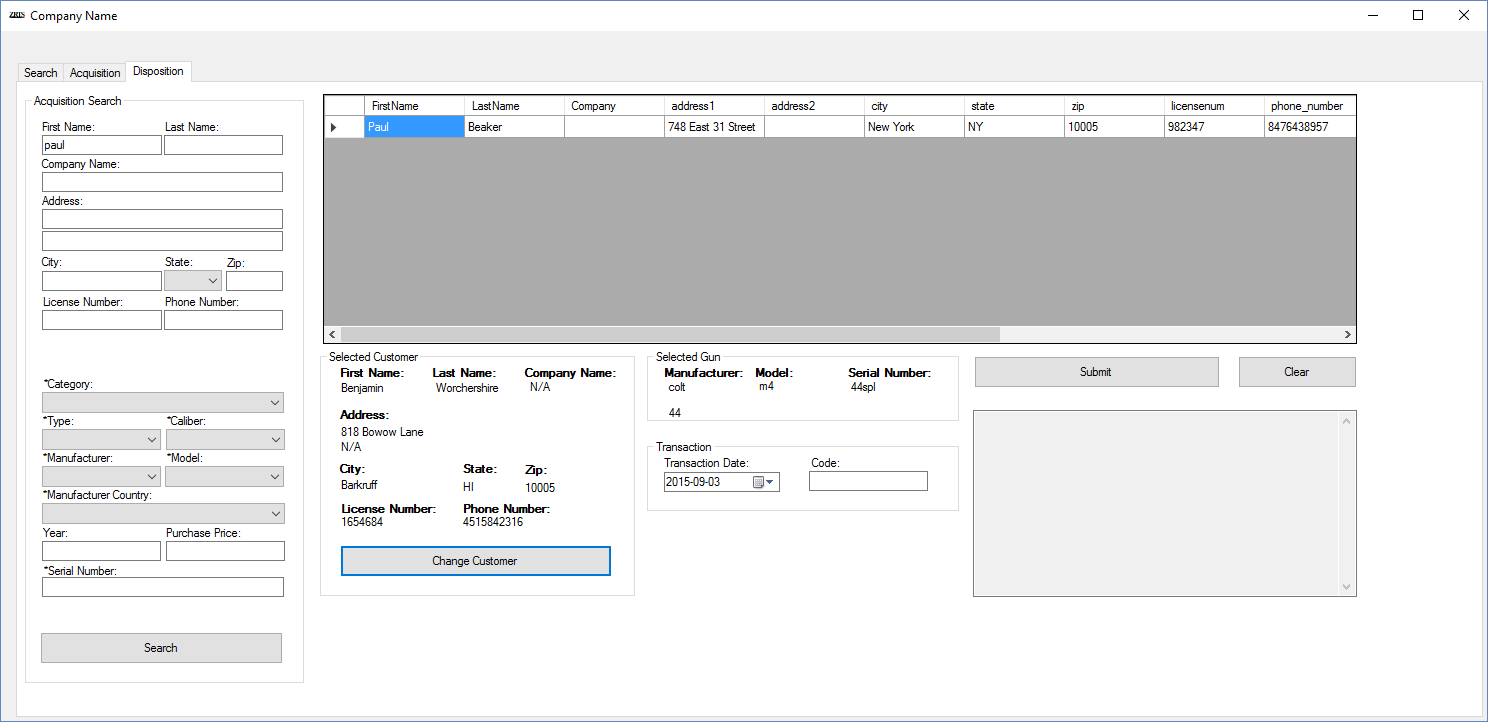 Finally, the user must put in the transaction date (the default is today) and a code, if necessary. Finally, the user clicks ‘Submit’ and the disposition will be entered into the database.
 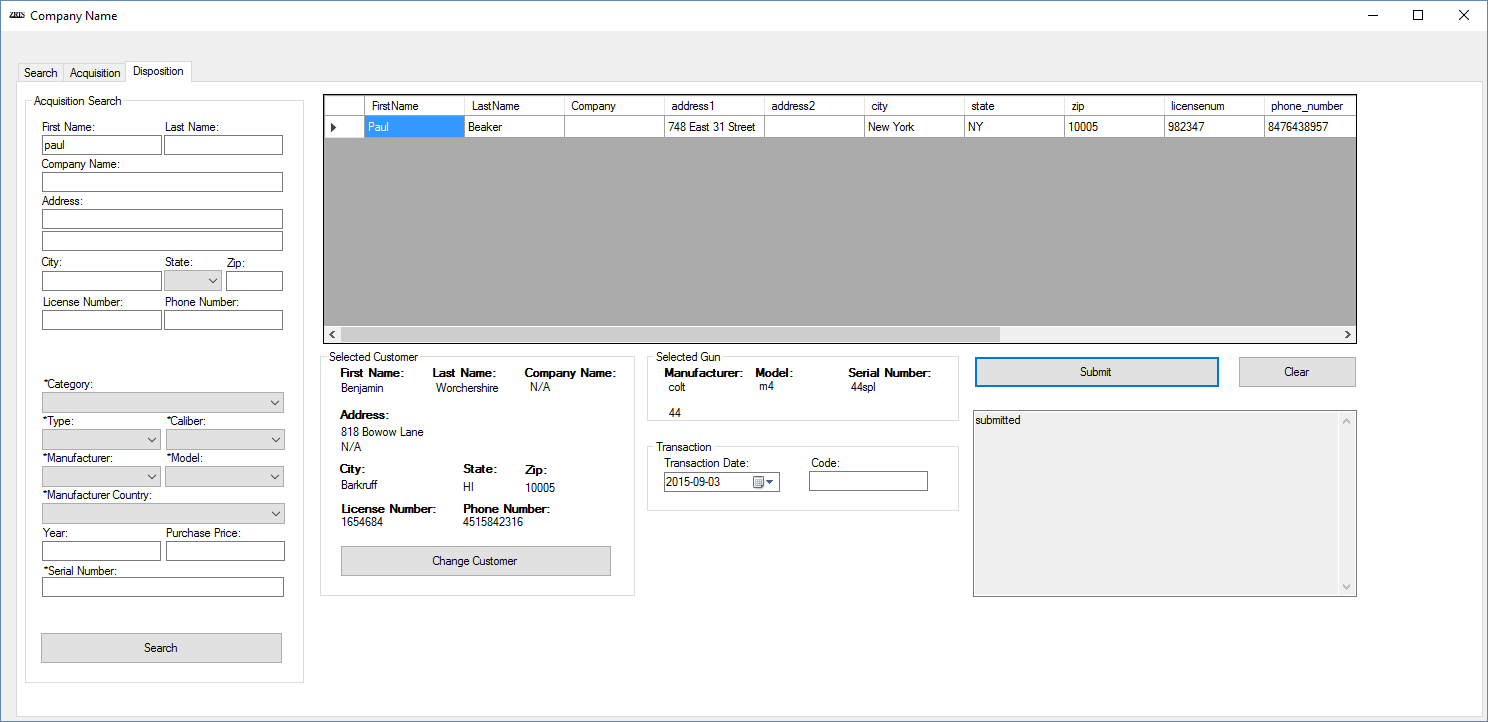 In Part 4.2, we discuss the code behind this portion of the GUI.