An Introduction to Qlik and SQLite
Qlik is a company that makes the business intelligence and visualization tools QlikView and QlikSense. QlikSense can be used to pull data in from any major RDMBS, CSV file, or Excel and generate beautiful and interactive plots. You can also use it to make a slideshow! Luckily, QlikSense Desktop is free for personal use. To install it, follow their directions here. When you first open Qlik Sense, you will get a window asking if you want to create a new app. For your first time using this, go ahead and click Create A New App and give it a name. I plan on using this to visualize my board game play data, so I named mine ‘BoardGamePlays’. 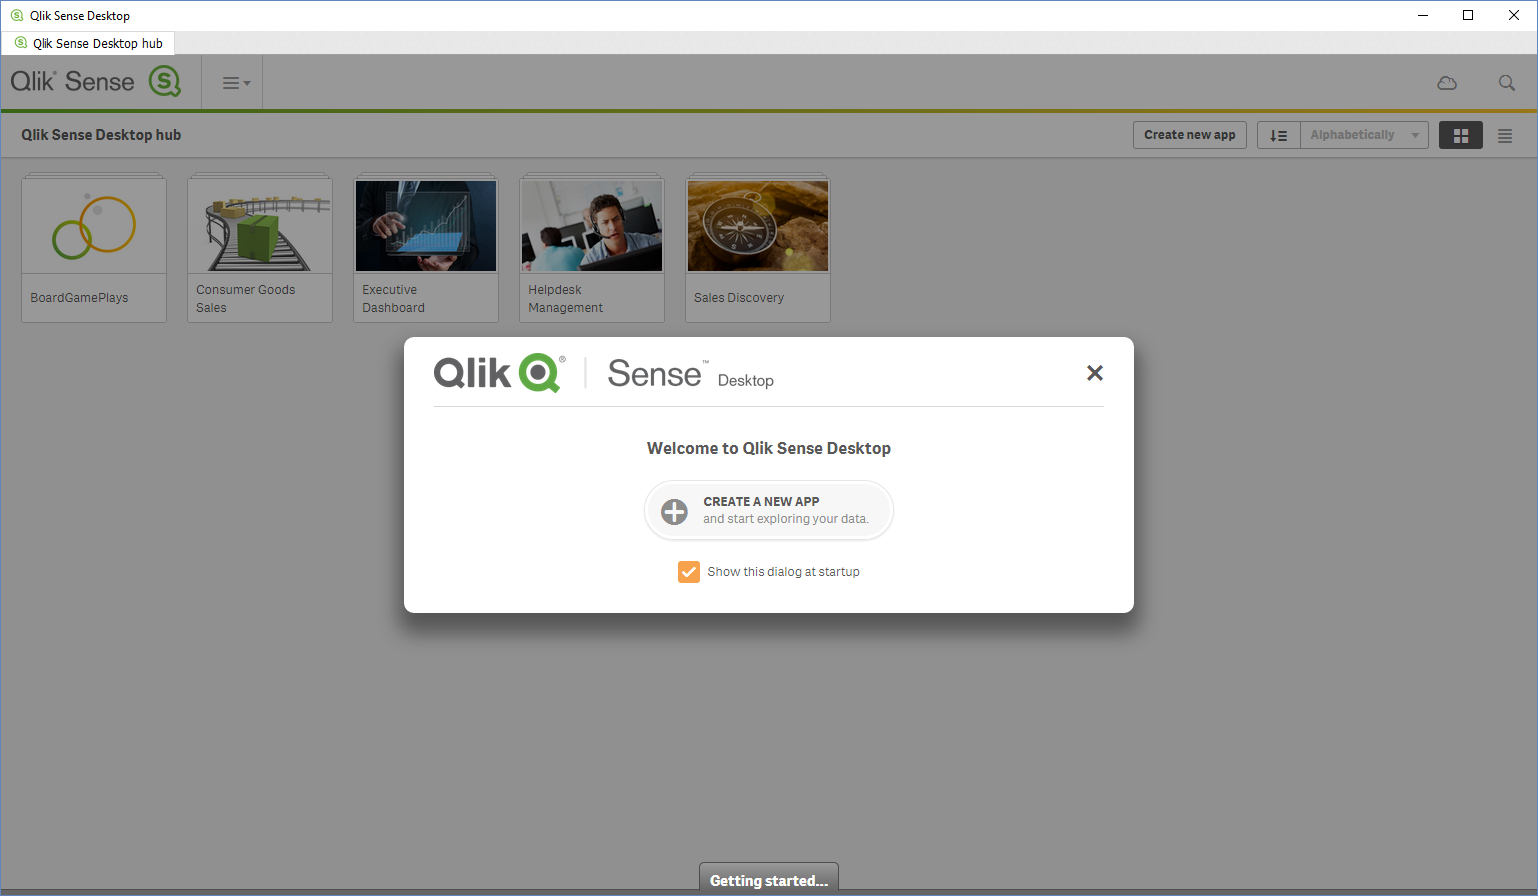 Next, choose your new app from the list of apps to open up your App Overview. The App Overview will look like this:
 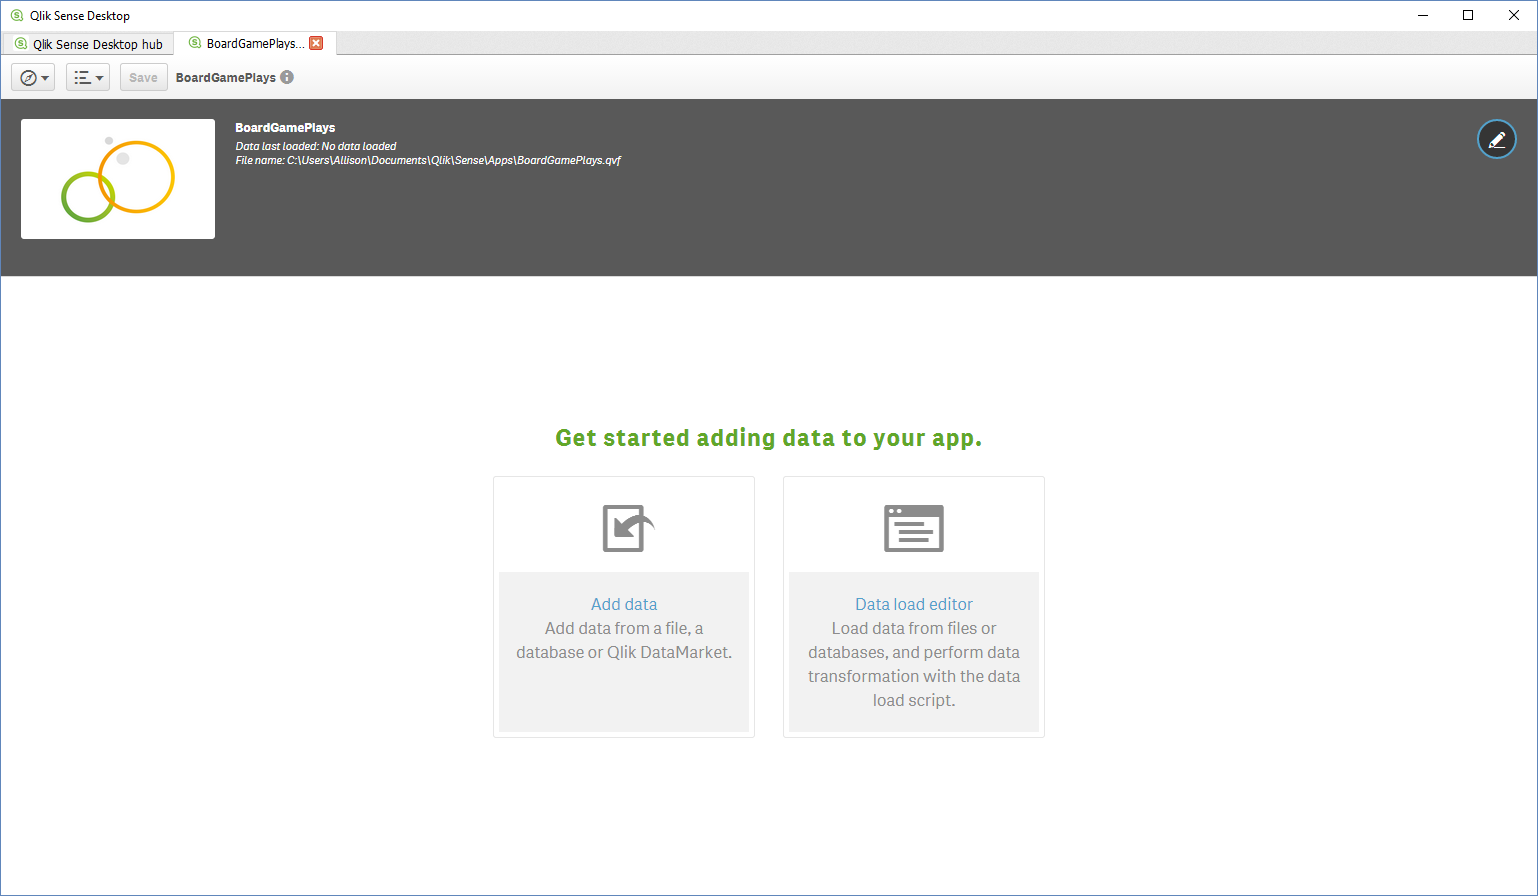 Now we need to connect to our database. For me, this will be a SQLite database (but remember, you can follow these general rules for any major RDMBS database). In order to do this, we need to grab the SQLite ODBC Driver. ODBC stands for ‘Open Database Connectivity’ and it is a standard API for connecting to databases. Once the driver installs, we will need to create a connection to our database (this connection is considered a data source). To do this, open the ODBC Data Source Administrator (64-bit) software by either pressing the windows key and searching for ‘ODBC’ or by clicking the start bar and going to All Programs - Windows Administrative Tools - ODBC Data Sources (64-bit):
 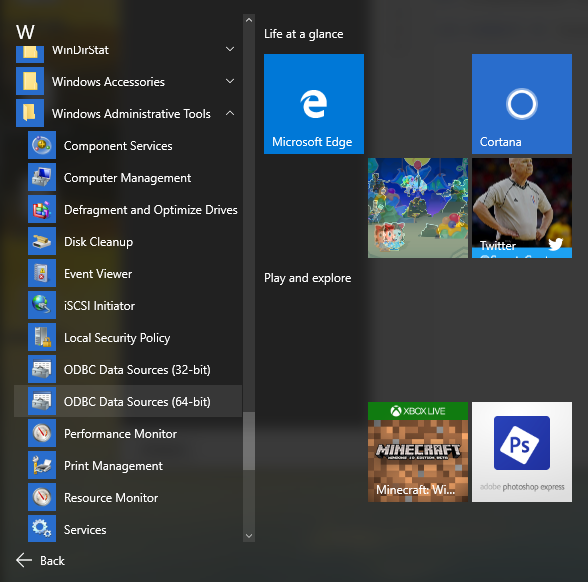 Once that window comes up, choose the ‘System DSN’ tab and click ‘Add…’ to open up the Create New Data Source window. I am wanting to use a SQLite3 database, so I chose that option. Give the source a name and then click ‘Browse’ to navigate to your database. I didn’t fill in anything else on this window. Finally, we can add the database to Qlik! From the App Overview section, click ‘Data load editor’. Next, click Create New Connection on the upper right to choose our database. We want to use the ODBC option. Once this window loads, click on the data source that you named in the previous step (for me, this is ‘sqlite bg’).
 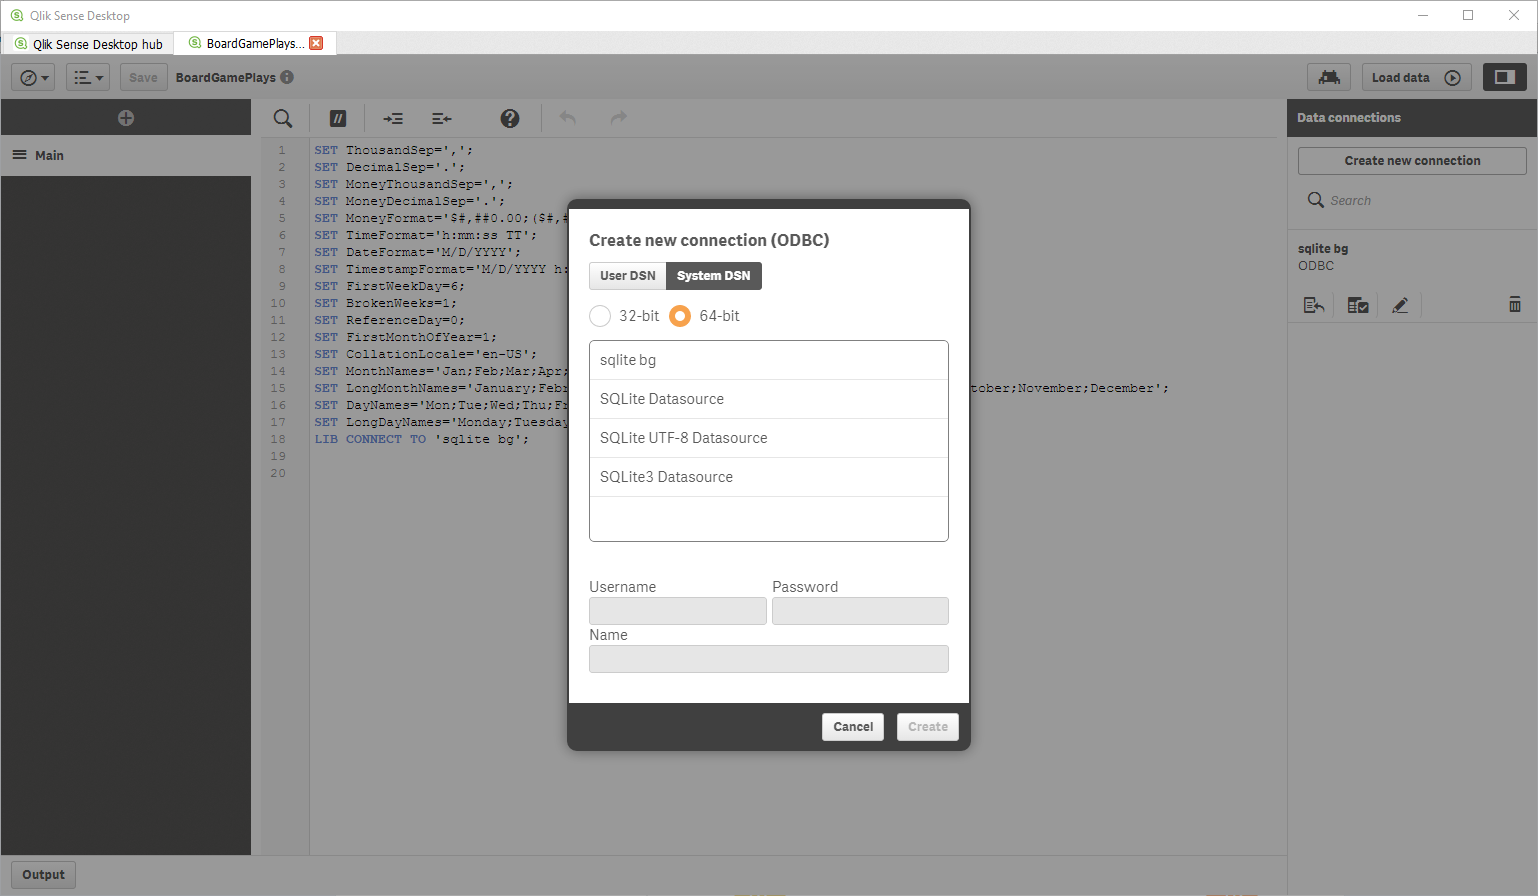 We can manually type in the connection string ourselves or we can have Qlik do it. To let Qlik do it, click on the first icon under your data source on the right column (Insert connection string):
 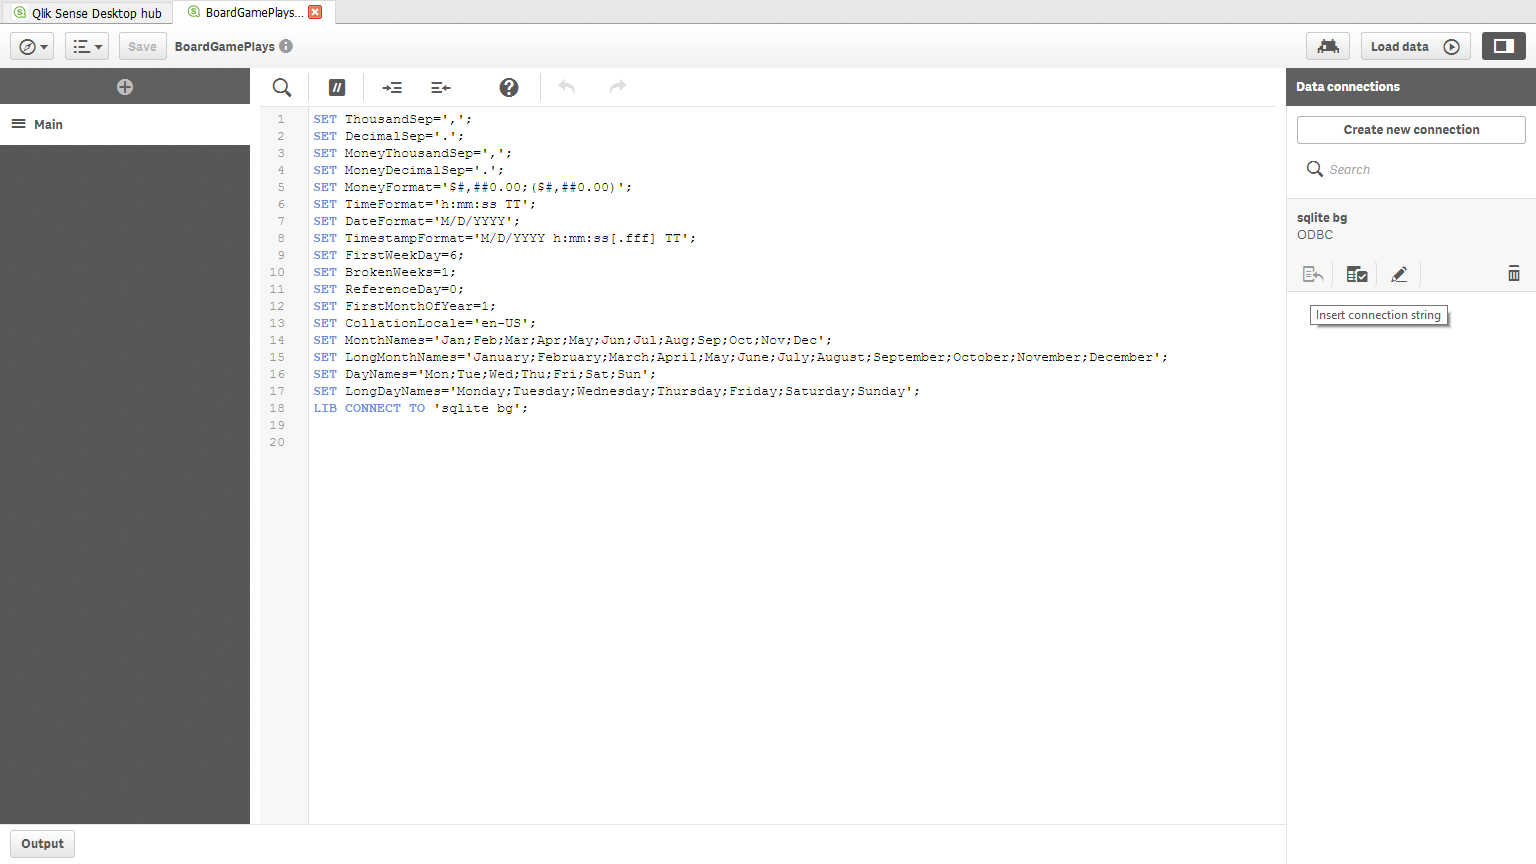 This will insert the line: [text]LIB CONNECT TO ‘your data source name’;[/text] To make sure we are connected, click the icon next to the Insert Connection String icon (Select data). When this window opens, we can see our tables on the left and the values in the selected tables in the middle:
 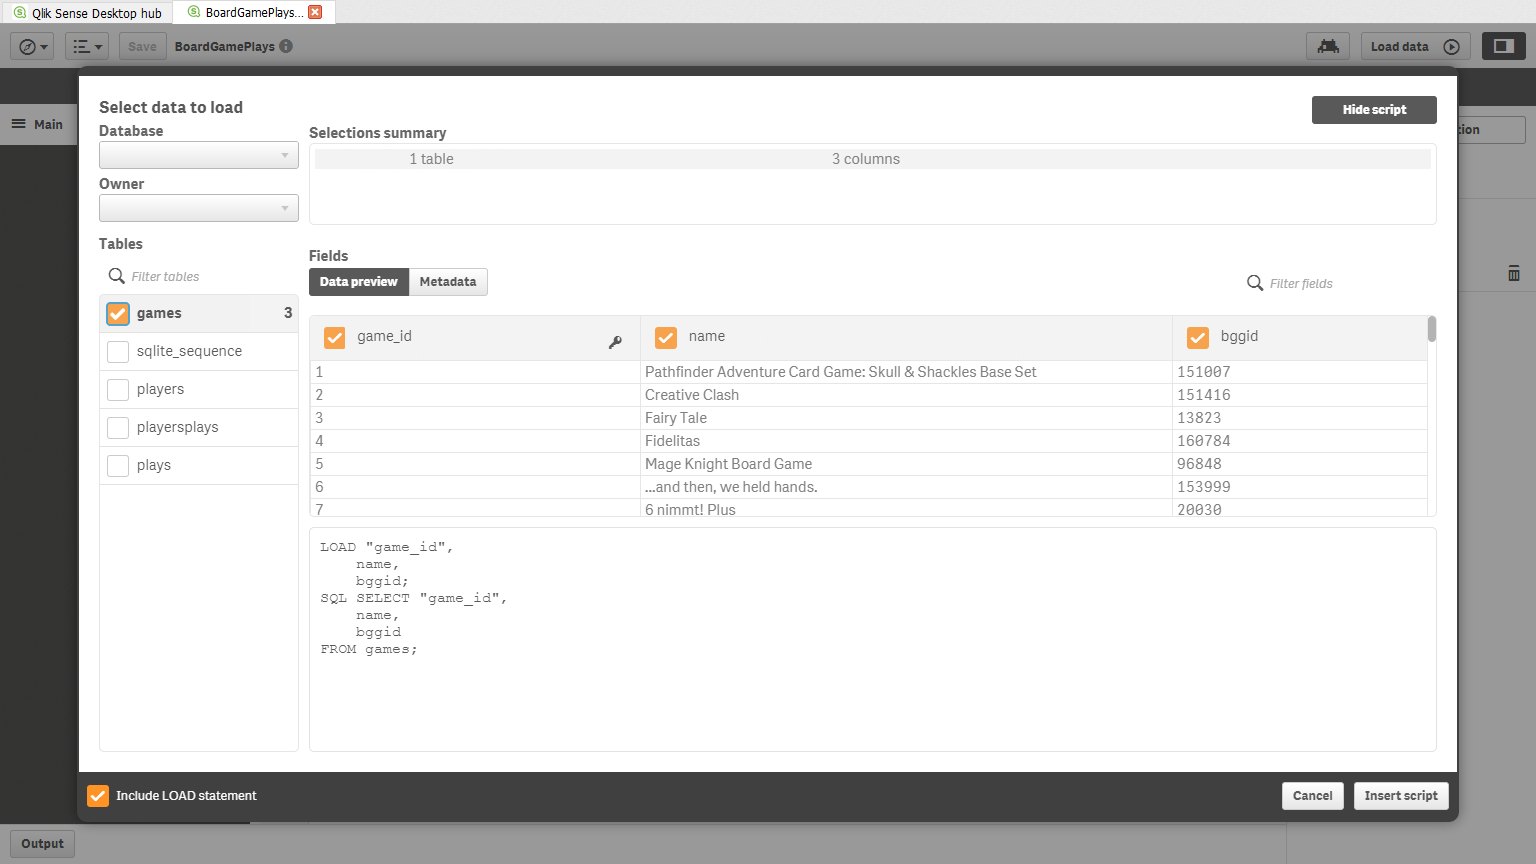 That’s all it takes to connect a SQLite database to Qlik! The trickiest part for me was realizing I needed to create the data source using the ODBC software. Once I realized I needed to do that, the rest was pretty easy. I think this tool will prove to be very powerful for visualizing data and learning about ODBC will certainly be helpful in other applications in the future. Have questions or suggestions? Please feel free to comment below or contact me.